
How to organise a small wardrobe
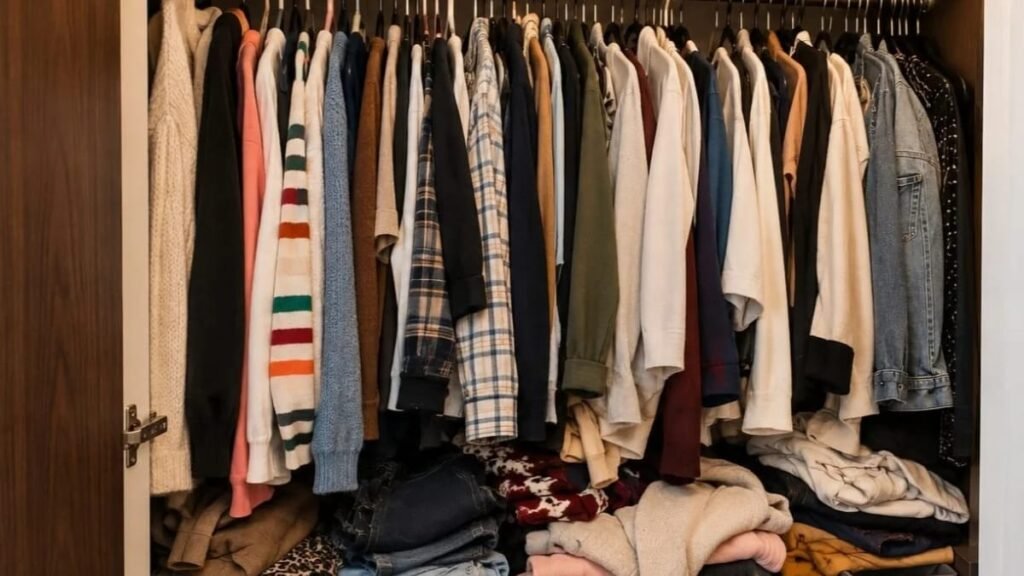
Does this happen to you too — when you open your wardrobe you see loads of outfits, but you still can’t understand what to wear today, and if you have to leave the house in a hurry, you just can’t figure out what to wear.
If you’ve been searching for how to organise a small wardrobe without spending a fortune, you’re in the right place. The problem isn’t your wardrobe — that it’s small or that you can’t find clothes. The problem is that we don’t organise our wardrobe properly. And if we don’t keep the wardrobe tidy, it starts to smell, and that smell can start coming from our clothes too.
So today, in this complete guide, we’ll learn how to organise a small wardrobe step by step — where with the help of a few organisers we can double our wardrobe space, and some of these are completely free methods too that are actually helpful.
To organise a small wardrobe, start with free hacks like swapping thick hangers for slim velvet ones, using cardboard drawer dividers, and trying the soda-can-ring trick to double up your hangers. For extra space, add budget-friendly organisers like S-shaped trouser hangers or hanging fabric shelves — no drilling needed. Together, these simple ideas can double your wardrobe space on any budget.
Why Does a Small Wardrobe Run Out of Space? (4 Mistakes You’re Probably Making)
Has this ever happened to you — your wardrobe is completely full of clothes, but then when you have to go somewhere in the morning, you just can’t figure out what to wear, like you can’t find anything to wear at all. And in the end, we end up wearing the same 2 or 3 outfits, the ones we can see right at the front.
The real problem isn’t that the wardrobe is small — the problem is our own small mistakes that we make every day in our routine, which is why we all face this. We don’t even realise it, like:
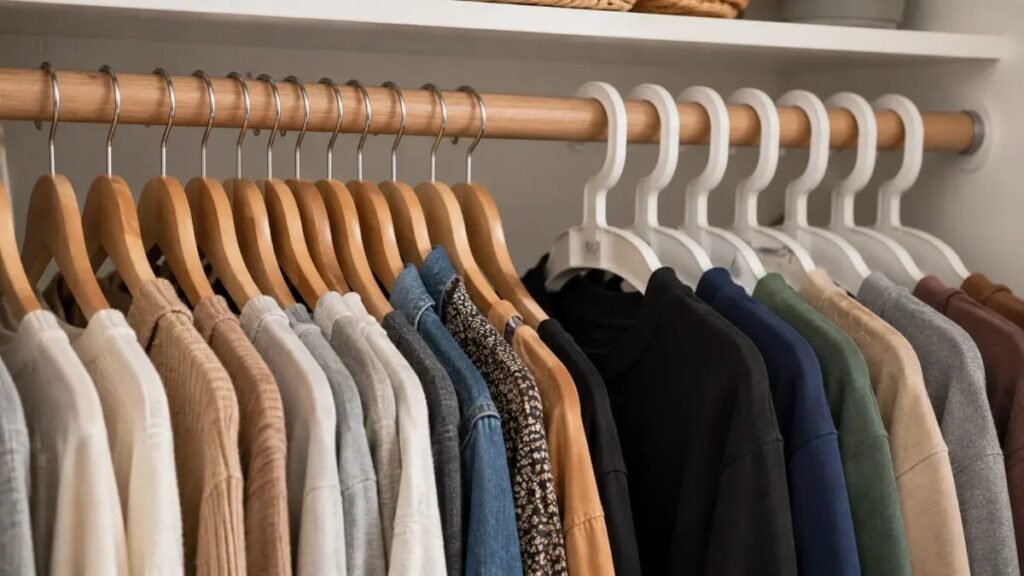
Plastic hangers and wood hangers: these thick hangers take up more wardrobe space — this includes plastic and wood hangers — where 5 of these thick hangers fit, 10 (velvet or thin) hangers can easily fit instead.
Forgetting the vertical space: we always just hang clothes on the wardrobe rod and think we’re done, but we completely ignore the floor of the wardrobe and the space inside the doors. With a few organisers and hacks, we can double this wardrobe space.
The season changed, but the wardrobe didn’t: our biggest mistake is that we don’t separate our winter clothes even in summer, because we’re short on time, and because of this the heavy winter jackets and coats take up a lot of space.
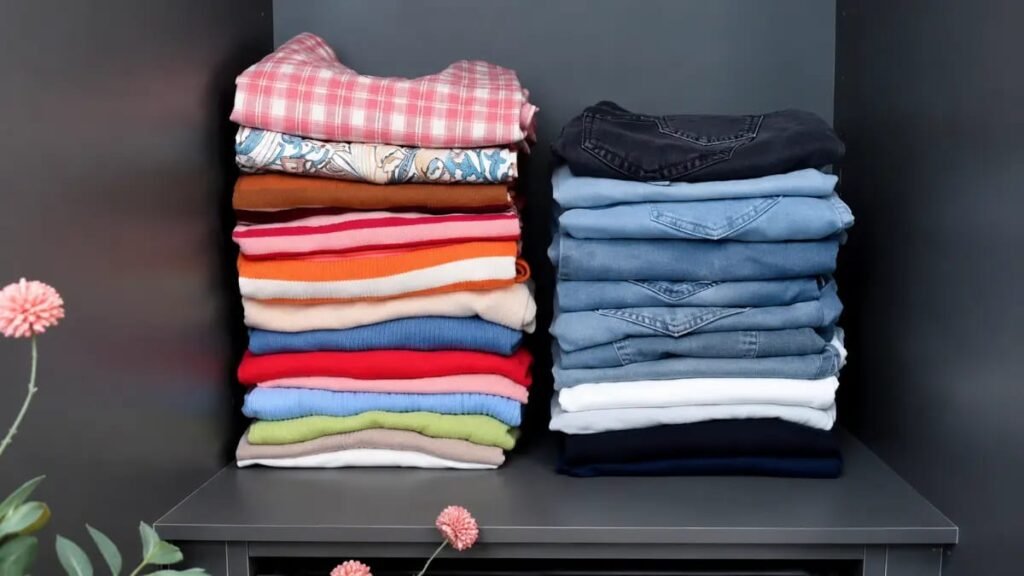
The pile of clothes (stacking trap): stacking clothes one on top of another looks fine at first, but when you have to pull out one suit or shirt from the bottom, the whole pile falls down, and that’s what makes us most annoyed.
Empty and Deep Clean Your Wardrobe Before Organising (Here’s Why It Matters)
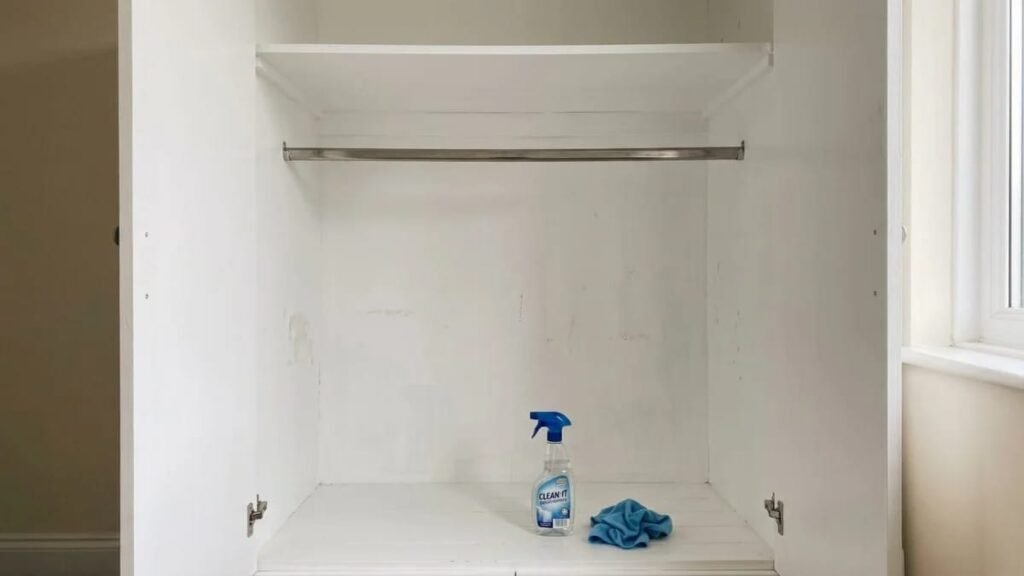
First of all, whenever you want to organise your wardrobe, empty it completely. Take out everything that’s in the wardrobe — each and everything. Once the wardrobe is completely empty, dust it properly and clean the inside with a good cleaner spray. After cleaning, leave the wardrobe empty and open for 1 to 2 hours so the moisture and smell inside go away.
How to Declutter Your Wardrobe the Right Way (The 3-Pile Rule)
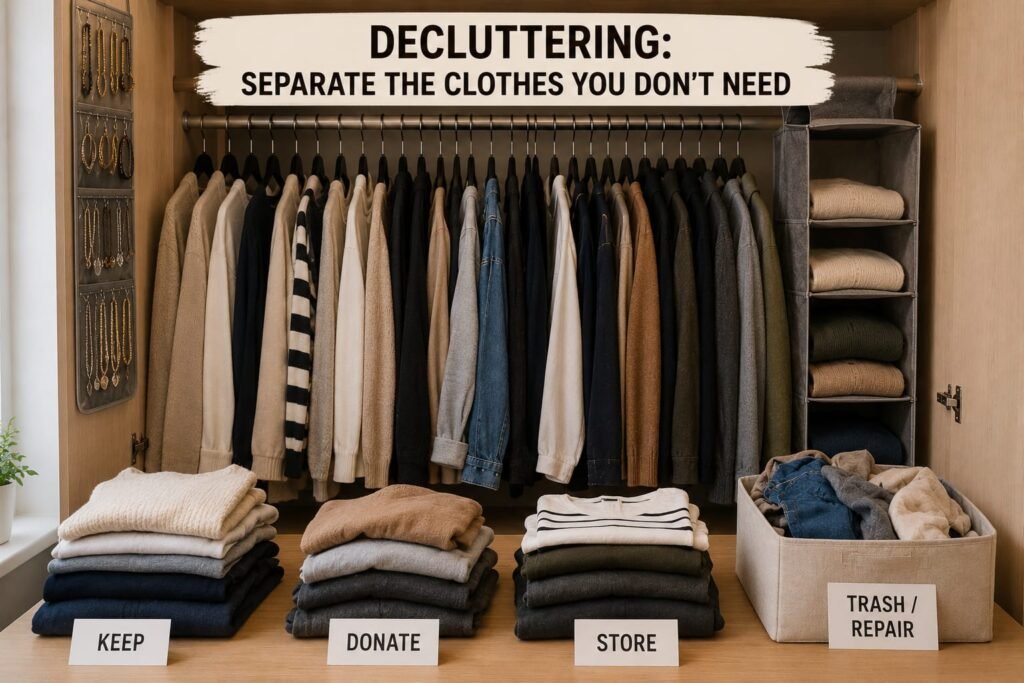
The second thing you should do is properly check everything you took out of the wardrobe (clothes, shirts, shoes, bags). See which of these are things you haven’t worn in the last 6 months. Declutter them — meaning donate them, sell them, or give them to a friend.
After this, divide the remaining clothes into categories (like daily wear separate, party wear separate, and shirts separate). Once you’ve categorised your clothes, it’ll be easier to find clothes and the wardrobe will look nicer too.
Free Wardrobe Organisation Hacks That Actually Work (No Budget Needed)
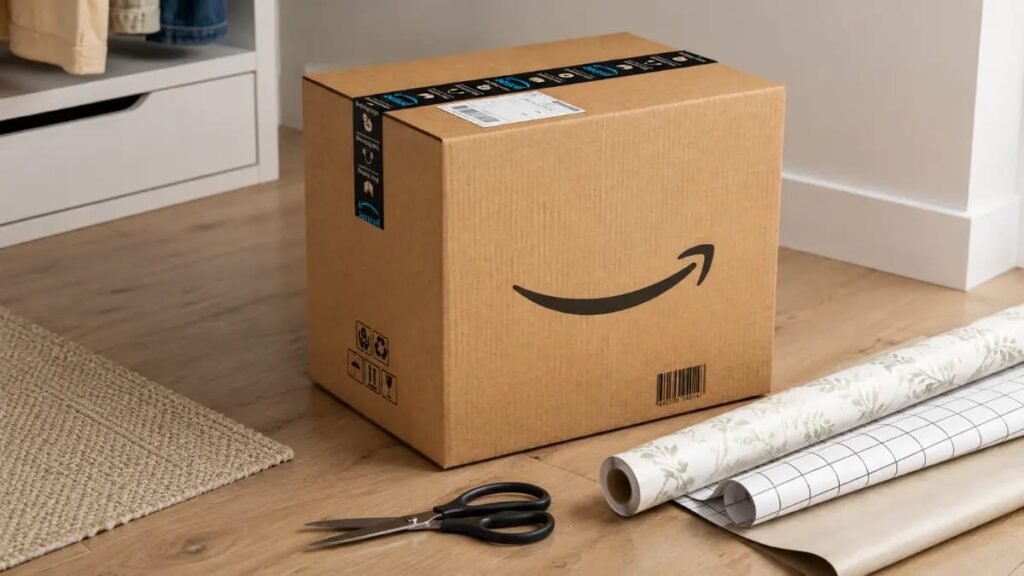
We’re made to believe that we can’t organise our wardrobe with free hacks, which is completely untrue. I’ll tell you some free hacks that you can try without any investment, and they’re genuinely helpful.
How to Make a Free Drawer Divider Using a Cardboard Box
A drawer divider can be really useful, especially for small rooms. Why is it so useful? Our wardrobes are usually quite small, and when we open or close a drawer, everything inside gets mixed up, so when we go to find something, we can’t find it. This drawer divider solves that problem completely. For this, you just need cardboard, which is normally in every home — an Amazon box works too.
You just need to cut it in a certain way, as shown in the picture. Cut it according to your drawer and then fit it into your drawer, as shown in the picture. This makes it easier to find small items, and this trick is completely free — you just need a cardboard box, and it can save a lot of our time.
DIY Canvas Storage Box From Old Packaging (Step-by-Step)
The second tip is also really useful. For this too, you just need cardboard. If you have any box, like an Amazon box or a shoe box that you think is useless, we can use it to make a really nice, good-looking canvas box of our own.
Follow these steps to make it
First, take a large cardboard box (like one that holds dishes, kitchen items, or shoes). Then cut that box straight down the middle. Remember, both halves should be equal. Once you’ve cut it, you’ll have 2 boxes.
On the front of each box, mark a small rectangular shape. Using a knife or cutter, cut along that mark and remove the cardboard. This small hole will become your handle, so you can easily pull the box out of the wardrobe.
To give it a nice look, use wrapping paper (like gift paper or wallpaper). Cover the box nicely so it looks neat, and fold the paper inward at the handle area too. If you don’t understand from this, you can understand it through the picture, and if you still don’t understand from the picture, you can watch this video. Your DIY storage organiser is ready, where you can fold leggings, jeans, t-shirts, or trousers vertically (standing up) and place them neatly in a line.
The Soda Can Ring Pull Hack: Turn One Hanger Into Two Layers for Free
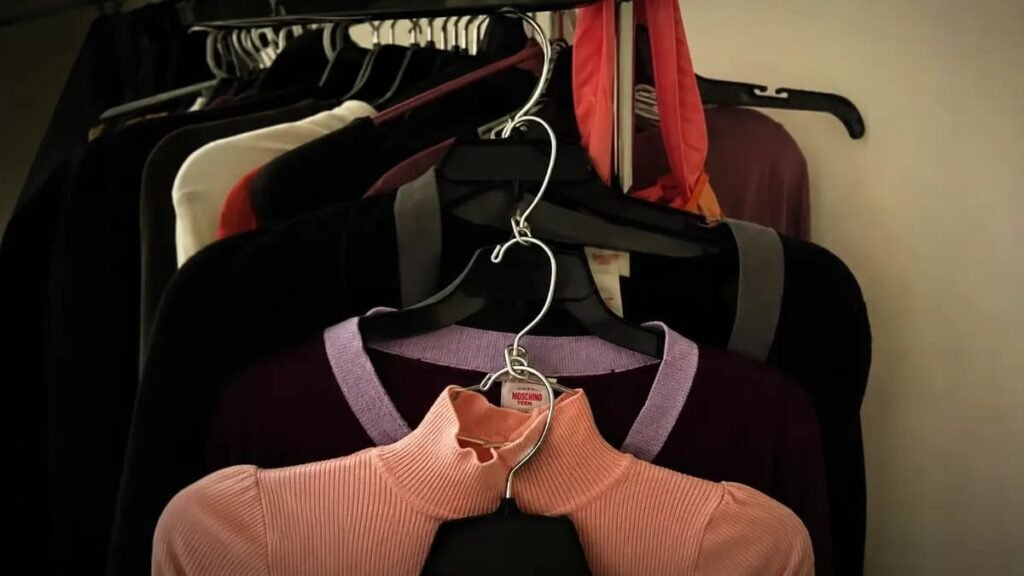
If we go to buy a multi-layer hanger from the market, it costs £4 to £7, which I think most of us renters can’t afford at the start. But there’s a solution for this too, and it’s completely free!
For this, you just need a soda can ring pull, and this is in everyone’s home too, since everyone drinks Coke and Sprite. You just need the ring pull part and put it onto your hanger in the way shown in the picture, which is really easy.
This turns it into your multi-layer hanger, but keep one important thing in mind — never hang a heavy coat or jacket on it.
Expert guide: “It often happens that we use cardboard, but after some time it starts to smell, and the smell spreads through the whole wardrobe. To avoid this, make sure you cover the cardboard with wallpaper or wrapping paper so moisture doesn’t get in and there’s no smell problem.”
Best Cheap Wardrobe Organisers UK (That Actually Save Space)
Has this ever happened to you — you’ve seen amazing, organised wardrobes on Instagram or Pinterest and wished you had a wardrobe like that too! But as soon as we look at the price, we think we can’t afford it.
But you don’t need to waste thousands of pounds to make your wardrobe look luxury! I’ll tell you about smart organisers that are pocket-friendly and game-changers, which alone will change the whole look of your wardrobe — and on such a small budget that you’ll be surprised too!
The Single Easiest Way to Double Your Wardrobe Rod Space
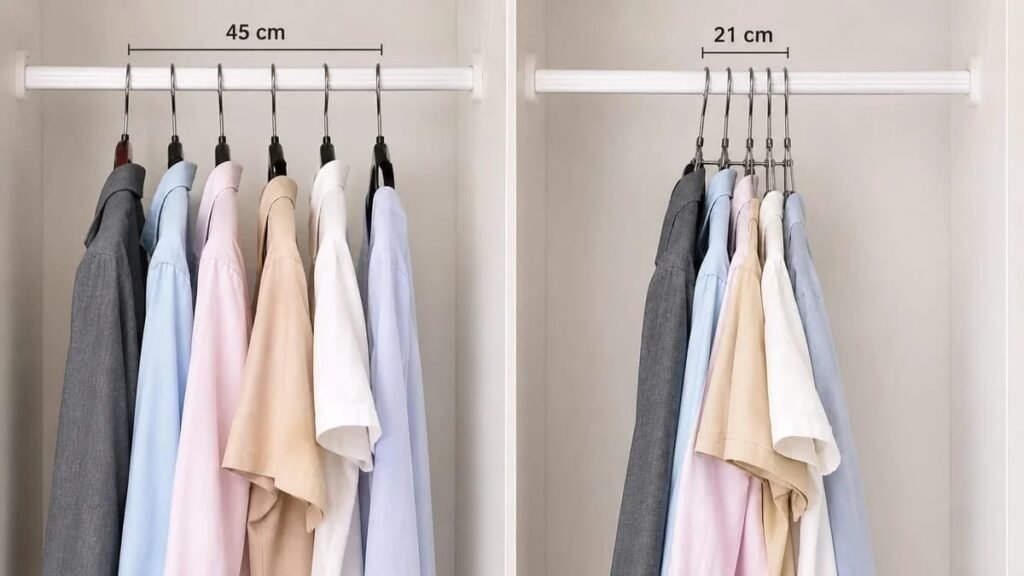
I think the biggest mistake we make is when we’re buying hangers. We just buy whichever hanger looks nice, and that’s our biggest mistake. When buying hangers, we should keep these things in mind:
First: Never get wood hangers — one, they’re too thick, and two, they take up a lot of space. Where 10 hangers should fit, only 5 fit instead.
Thickness: When buying a hanger, check its thickness — the thinner the hanger, the better.
Plastic Hangers: Never buy thick plastic hangers either, they also take up a lot of your space.
Non-Slip Grip: Get hangers that clothes don’t slide off, like for silk, chiffon, or deep neck shirts.
Trouser Bar: If you also want to hang trousers or bottoms, get a hanger that has a horizontal bar underneath (or has movable clips).
I’d suggest Velvet Hangers, Honestly, switching to velvet hangers was the single biggest change I made in my own wardrobe — I went from a completely packed, chaotic rod to having actual visible gaps between my clothes. It sounds small, but it genuinely changed how I felt every morning getting dressed. You can easily get these from Amazon for (£7.99).
Hang 5 Pairs of Trousers and jeans in One Hanger’s Space
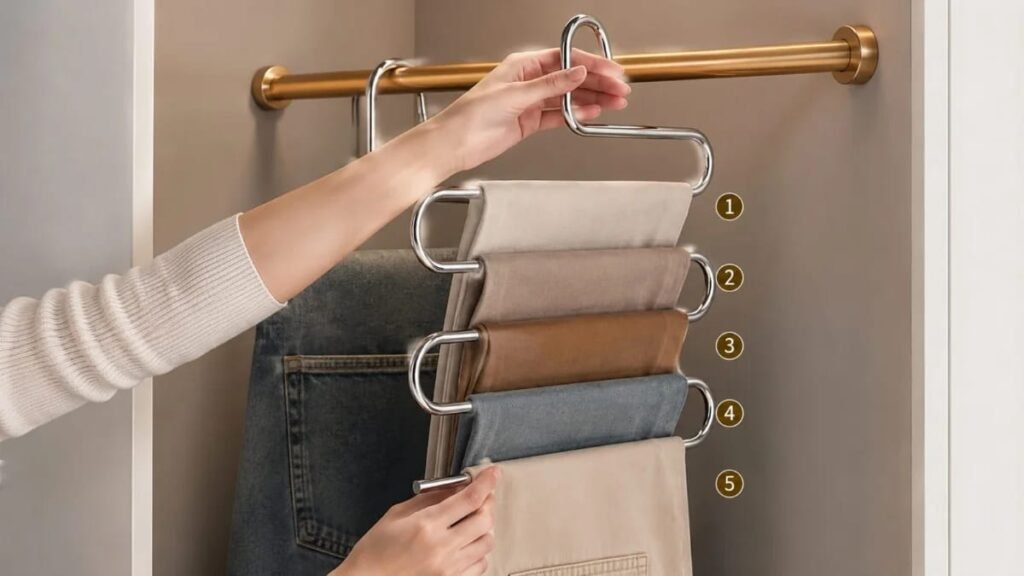
This hanger is designed in an “S” shape, where a single hanger has 5 different layers. It’s mostly made of steel or metal. Its biggest benefit is that where 5 hangers would normally take up separate space, this one hanger alone saves the space of 5 hangers by bringing them into one vertical line, which saves up to 80% of wardrobe space.
It’s mostly used for trousers and pants, but we can also organise ties and belts on it. Its biggest benefit is that clothes don’t get creased and stay set in one place without getting damaged.
It’s mostly used by people who wear trousers or jeans as part of their routine and want to keep them organised in one place — like office people who need to get ready quickly in the morning and want their trousers clean on one hanger. It’s also mostly used by people with small wardrobes, or us renters, who have less wardrobe space and want to hang more clothes in less space. You can easily buy this from Amazon for (£10.99) too.
“Making the most of vertical space is one of the biggest game-changers for renters. For more smart hacks like this, check out our [vertical storage ideas for renters] guide.”
Organise 10 Pairs of Leggings Without a Single Drawer
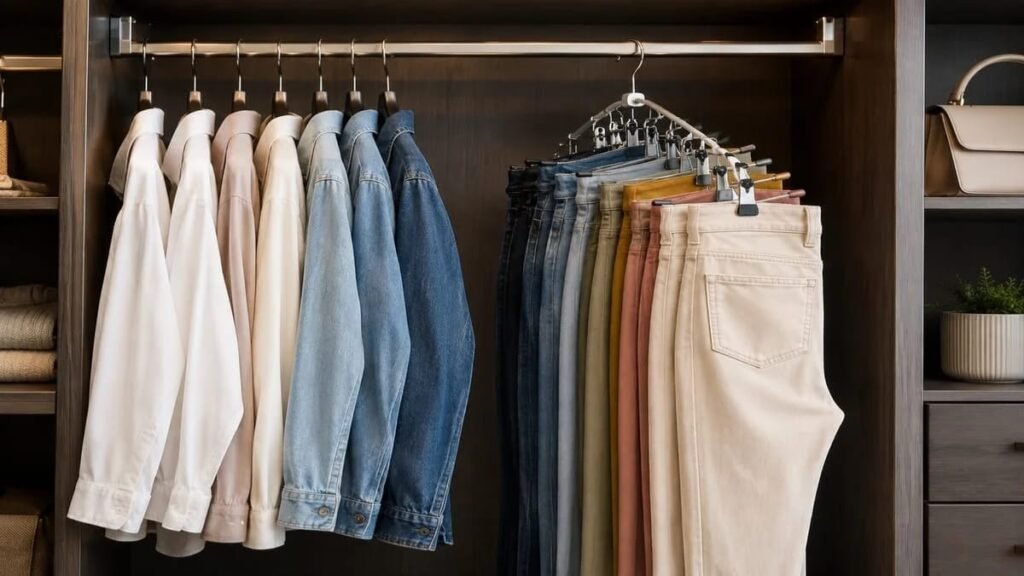
This hanger is in a curved, arched style, with heavy-duty metal clips hanging underneath. The special thing about this hanger is that it gives you the capacity of 10 regular hangers in just one hanger (that is, 1 pack = 10 hangers). And the best part is that the clips underneath have rubber or silicone on the front, which stops damage or marks from the clips, so no marks appear on our clothes and they stay safe.
You can clearly see in the picture above how much space 10 separate hangers take up, while this one hanger alone organises 10 jeans or leggings in the same space, which saves up to 90% of wardrobe space. And it’s not necessary to only hang trousers, jeans, or pants on it — you can hang whatever you need on it, like shorts, ties, caps, and so on. The best thing about it, I think, is that whatever we hang on it, we can hold it from the waistline, so we don’t need to fold the clothes to hang them.
Mostly Who Uses This?
Activewear / Gym Lovers: People who use leggings, tights, or workout pants daily and don’t want to fold them into drawers and make a mess, and don’t want to waste their time.
Small Wardrobes / Renters: People who have fewer drawers and want to maximise the hanging space on the rod — this is mostly us renters.
Easy Access Seeking People: People who want to see all the colours at a glance so they don’t waste time looking in the morning — like people going to the office. You can get this from Amazon for around (£11.49)
Hat Organiser Holder
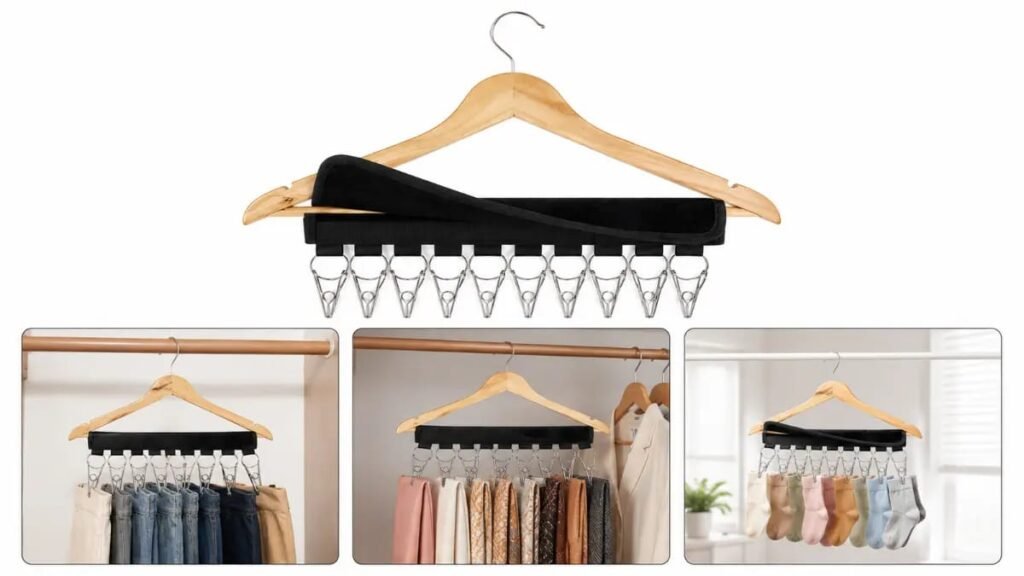
This holder is the same as the one I told you about above, in the same way — it also has 10 clips. If you can’t afford that one, you can check this one out too, it does the same job. Whatever, wherever, you can hang it here too — you just need to put it on a hanger. You can check this one out too — You can get this from Amazon for around (£11.80)
Never Lose an Earring or Necklace Again
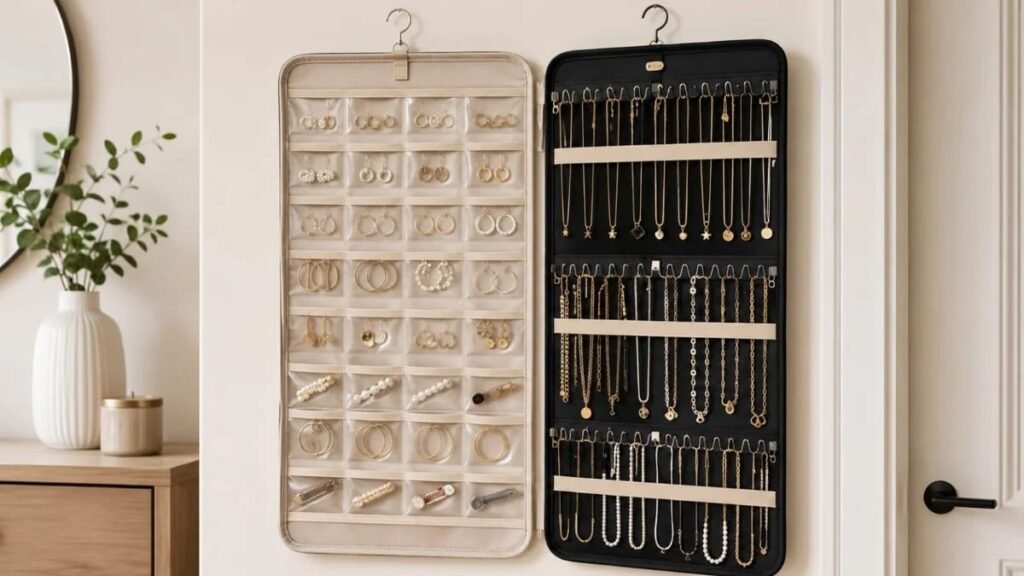
This organiser is especially for girls who find it really hard to organise their jewellery. This organiser will completely solve this problem of yours, and it’s really useful. If you have lots of jewellery and can’t keep it organised — sometimes it goes missing and sometimes something else — then definitely try this organiser, it can be really helpful for you.
It has small pockets on the front where you can keep small things like your rings and earrings. Then underneath there are 6 medium grid pockets where you can keep your watches and bracelets, and then below that there are 2 big grid pockets too, where you can keep whatever you need. And there’s still more space left! There’s also space on the back for organising, where you can hang necklaces, chains, and more jewellery, which I thought was really useful.
It rotates 360°, so you can turn it all the way round and use it. You can hang it anywhere — like on the rod in your wardrobe, or on the wardrobe door using a command hook. It’s pocket-friendly in price too, and easy to use — you can try this one too, and you can easily get it from Amazon for (£14.99).
Display All Your Bags Without Stacking or Squashing Them
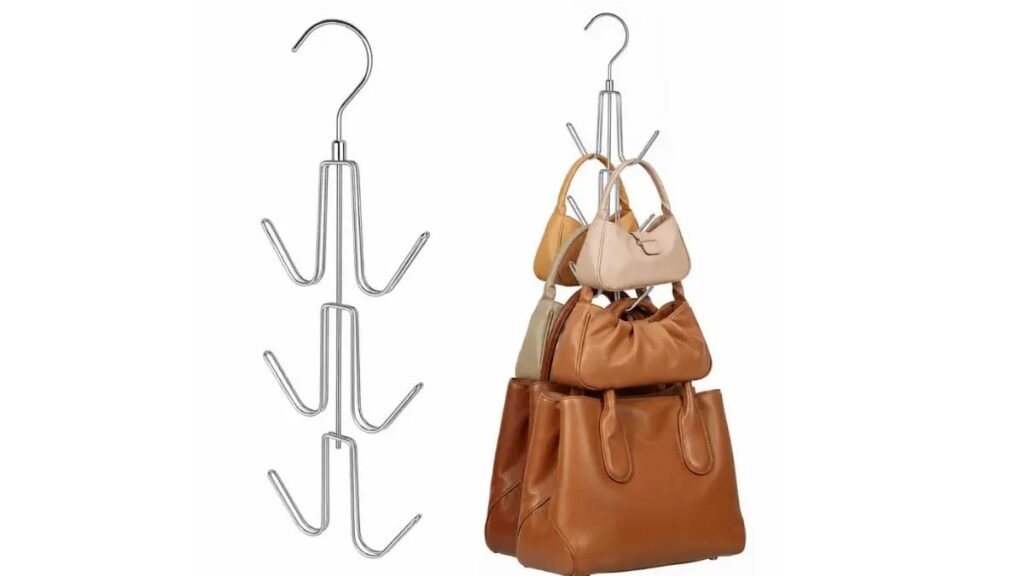
This organiser is especially for people who go to the office and ladies who love bags. It’s made of heavy-duty metal with a total of 6 strong hooks, which hold 6 different bags in one vertical space. You can hang bags of every size on it — like small clutches, medium shoulder bags, or big leather tote bags.
Its biggest benefit is that the bags don’t stack on top of each other. All the bags are clearly visible at a glance, so you don’t waste time in the morning looking for the matching bag. When we keep bags stacked on top of each other on the floor or on shelves, their shape gets ruined, whereas with this hanging style, the bags’ handles and shape stay completely safe.
And we can’t just hang bags on it — we can also hang our belts, ties, caps, and other things we need on it. It’s mostly used by women who have different types of handbags and want to keep them safe, but men can use it too, and hang their belts, ties, and so on on it (I hang my shirts on it quite often too!).
It’s also used by people who want everything in their wardrobe to look clean, mess-free, and displayed nicely, and by people who don’t have space on shelves for their bags and want to use the vertical space on the rod.You can check this one out too — available on Amazon for around (£14.56)
Instant Shelves on Any Wardrobe Rod (No Drilling)
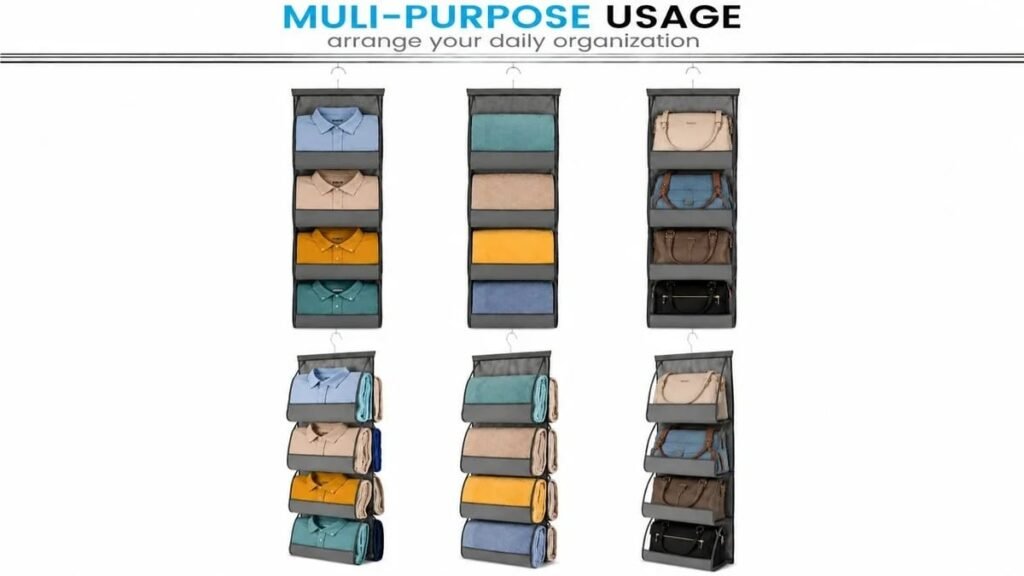
This organiser’s actual name is “Hanging Fabric Closet Organiser”, but you can also call it the Zober hanging organiser. It’s a vertical hanging organiser made of fabric, with deep slanted pockets, and it’s double-sided — meaning it has pockets on both the front and back.
In this, we can fold and keep hand towels and bath towels, and we can also fold and keep our t-shirts, jeans, and jumpers in it. Besides this, we can also set extra bedsheets and pillow covers in it, and if you want, you can also keep handbags or office bags in it.
You might be wondering why we should use this?
First: It hangs on the rod and turns useless vertical space into instant shelves.
Second: Its pockets are slanted, so clothes or towels don’t fall out, and it’s really easy to take things out and put them in.
Third: Because it has pockets on both the front and back sides, it gives double storage in less space.
Last: You don’t need any nails or drilling to put this up — you just hang it on your wardrobe rod using a standard metal hook.
It’s mostly used by renters and people with small wardrobes who have little or no built-in shelving. Students also use it, who want to keep their bedsheets, towels, or daily routine items in their small wardrobe. Often wardrobes do have hanging space, but there’s no place to keep blankets or towels, so we have to keep them stacked on top of each other, and if we need to pull one out, everything falls down — which is really frustrating. So we can use this, and you can easily get it from Amazon for (£19.09) too.
10 Compartments That Save Your Floor and Your Sanity
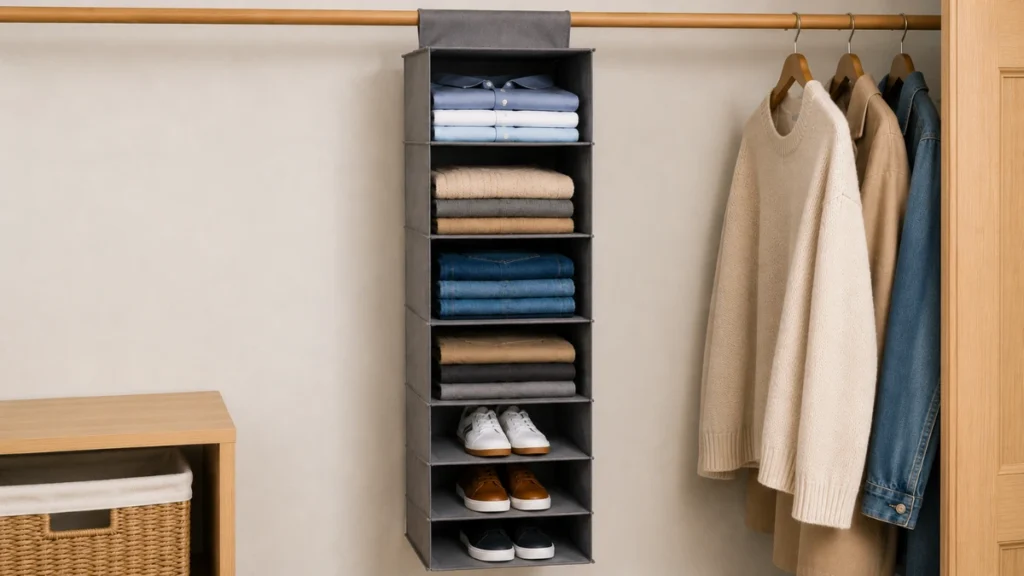
This is made of non-woven fabric, with velcro straps on top that tie easily onto the closet rod. It has 10 vertical compartments (shelves) where shoes, trainers, heels, or folded clothes can be easily kept. It saves your floor space and gives your shoes their own separate compartment. Besides shoes, we can also keep our folded shirts, jeans, trousers, and so on in it. Besides this, underwear or small accessories can be kept in it too. It makes good use of the empty vertical space in the wardrobe and doesn’t let your storage go to waste. Available on Amazon for around (£9.99)
Canvas Box
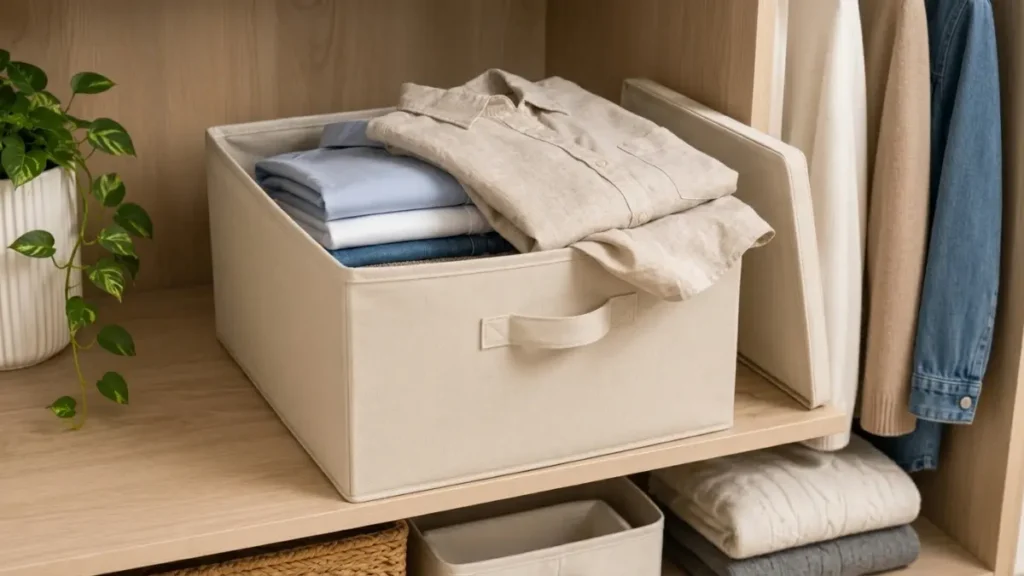
I’ve already shown you how to make this for free above, but I think there are also people who are really short on time and want everything ready-made. So you can buy this too if you have the budget, or you can make it for free with just cardboard, as I explained above. I think this should 100% be in every wardrobe, because it helps you a lot. This canvas box comes in 2 types: one is the box type, and the other is the divider shape. You can get whichever suits your needs, or you can make it yourself using the hacks we gave you. Available on Amazon for around (£10.11)
Wireless Motion Sensor Wardrobe Lights
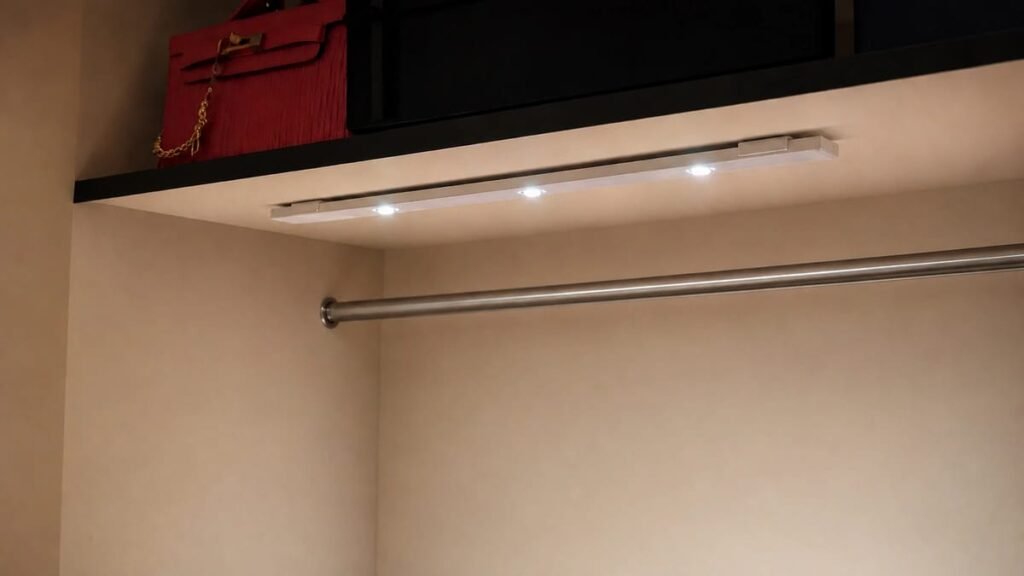
You’ve probably often seen on Instagram how the lighting turns on inside a wardrobe as soon as the door opens, which looks really expensive and luxury. Seeing this luxury wardrobe, we think it must be really expensive, but you don’t need to spend thousands of pounds to set this up, and you don’t need an electrician either.
You can easily buy Wireless Motion Sensor Lights or Magnetic LED Strip Lights from Amazon, which are really pocket-friendly. To put them up, they have double-sided tape on the back — just peel the tape and stick it on any part of the wardrobe. This light senses darkness and motion, so whenever you open the wardrobe, it turns on by itself, and when you close the wardrobe, it turns off by itself. These are USB rechargeable (or run on AAA batteries), so you don’t have the hassle of charging them often.
This little light makes your wardrobe look luxury, and at night, without turning on your room light, you can take out whatever you need from your wardrobe — this can be really useful for you.You can buy this from Amazon for around (£10.81)
Comparison Table
| Organiser | Price | Best For |
| Velvet Hangers | £7.99 | Everyone/daily wear |
| S-Shape Trouser Hanger | £10.99 | Office trousers/jeans |
| Multi-Clip Hanger | £11.49 | Leggings/activewear |
| Hanging Fabric Organiser | £11.80 | No-shelf wardrobes |
| Bagsmart Dual-Sided Hanging | £14.99 | Jewellry Organiser |
| Purse Hanger | £14.56 | Office bag/belts |
| Multi-Hanging Organizer | £19.09 | Handbag/folded shirts |
| Shoe Organizer 10 Pockets | £9.99 | Shoes/folded clothes |
| Fabric Storage Cube | £10.11 | folded clothes |
| Wardrobe Motion Sensor Lights | £10.81 | Under Cabinet |
How to Keep Your Wardrobe Organised Every Day (The 5-Minute Daily Reset Rule)

Hang all your hangers with the hook facing one direction (backwards). When you wear something and hang it back, hang it the other way round (facing forwards). After 2 months, you’ll clearly know which clothes you haven’t worn even once, and you can easily remove them.
Make a rule for yourself that whenever you buy a new piece of clothing or accessory, you’ll also remove one old thing from your wardrobe. Donate it or give it to a friend — this way you’ll never have a space problem in your wardrobe.
And it often happens to us that we wear a dress once, but it’s not ready to be washed, so we just put it back in the wardrobe untidily, which is a really bad habit. So choose one spot in your wardrobe where you only hang clothes that have been worn once (and can be worn again).
And whatever dress or shirt you take off the hanger, you need to put it back too. Doing it straight away only takes a few seconds, but if we don’t, it ends up taking hours a few months later. So we should definitely follow this rule — One In, One Out Rule and Daily Reset — this saves both our time and effort.
Frequently Asked Questions About Organising a Small Wardrobe
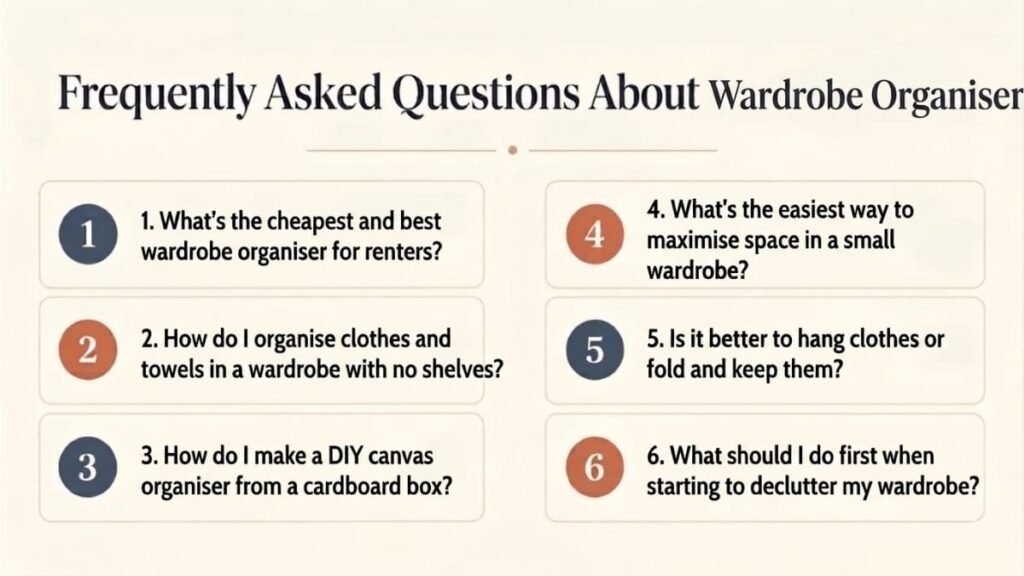
What’s the cheapest and best wardrobe organiser for renters?
For renters, Over-The-Door Hooks, Velvet Slim Hangers, and Hanging Fabric Organisers are the best. These are one or two really cheap options, and you don’t need any drilling or permanent changes to put them in the wardrobe.
How do I organise clothes and towels in a wardrobe with no shelves?
If your wardrobe only has a hanging rod and no shelves, you can use a Hanging Fabric Closet Organiser (Zober type) or a 10-Shelf Hanging Shoe Organiser. These hang on the rod and turn empty vertical space into instant shelves, which solves your no-shelves problem.
How do I make a DIY canvas organiser from a cardboard box?
You can take any old shoe box or delivery box and wrap it in old fabric (or wrapping paper) using glue. Cut small cardboard pieces to make dividers inside the box, where you can keep your socks, underwear, and ties. It’s a really easy method.
What’s the easiest way to maximise space in a small wardrobe?
There are 3 main tricks to maximise wardrobe space:
Use Velvet Slim Hangers so you save 50% space on the rod and can hang more clothes.
Use S-Shape Hangers to hang 5 trousers at once, which reduces the space of 5 hangers.
Put Over-the-Door Hooks behind the wardrobe door to hang bags and accessories, so the door space is used too.
Is it better to hang clothes or fold and keep them?
This depends on the fabric. For example, shirts, dresses, blazers, and abayas/dupattas should be hung so they don’t get wrinkled. Whereas heavy jumpers, t-shirts, and jeans are better folded and kept, because heavy clothes stretch out of shape when hung on a hanger, which can also damage them.
What should I do first when starting to declutter my wardrobe?
The first step is “The 3-Pile Rule”. Take all the clothes out of your wardrobe and divide them into 3 piles, so it’s easier for you to understand:
Keep: What you wear regularly.
Donate/Sell: Clothes you haven’t worn in 6 months or that are too tight.
Trash: Clothes that are damaged or stained.
Taking out your old clothes first helps you see how much real storage space you actually have.
You Now Know How to Organise a Small Wardrobe — Here’s Your Next Step
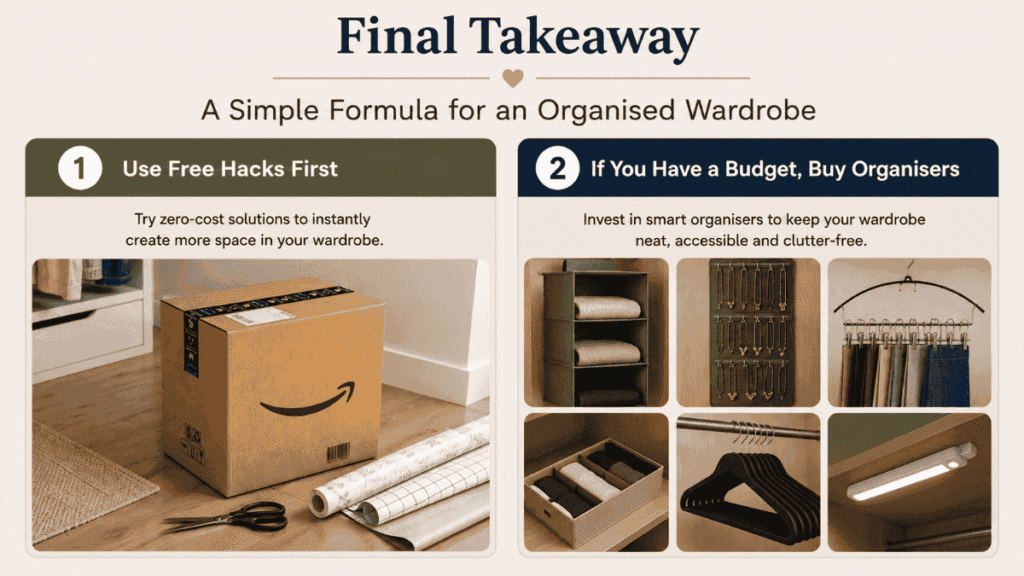
So now you know exactly how to organise a small wardrobe — without spending thousands of pounds and without needing a big fancy closet. These cheap, easy, and budget-friendly wardrobe organisation hacks work in any sized wardrobe, whether you’re renting or you own your home.
Just start with the Zero-Investment DIY Hacks — like making cardboard dividers or changing the direction of your hangers. And if you have a bit of budget, add 1-2 smart organisers (like Velvet Slim Hangers or a Hanging Fabric Organiser). With these small changes, not only will your wardrobe get double the space, your daily morning getting-ready time and stress will also go down a lot.
And you’ll feel less mentally stressed too, and whenever you have to go somewhere in a hurry, you won’t need to find anything. You’ll easily be able to find every dress and wear it and get there quickly!
Which of these organisers or DIY hacks did you like the most? Let me know in the comments section! And if you have any smart space-saving tip too, do share it as well.